Loroco Pupusas and Loroco foods are a delicious new discovery for many when visiting El Salvador and not just because it’s claimed to be an aphrodisiac!
Table of Contents
What Is Loroco?
Loroco is a popular edible flower used to flavor everyday cooking. It’s best known for flavouring one of the most popular pupusas – Loroco pupusa – for which we have an authentic salvadoran pupupsa recipe below.
Loroco is widespread in the tropical regions of El Salvador as well as Guatemala where wild plants have been growing since ancient times.
It’s also increasingly available in other countries in Central America as people migrate.
As such it has a wide number of names. It’s known as ‘Quilite’ among indigenous communities, translating to mean “edible herb” as well as ‘Fernaldia Pandurata’, ‘Looko’ ‘Flor De Loroco’ and ‘Guatemalan Flowers’.
What Do Loroco Flowers Look Like?
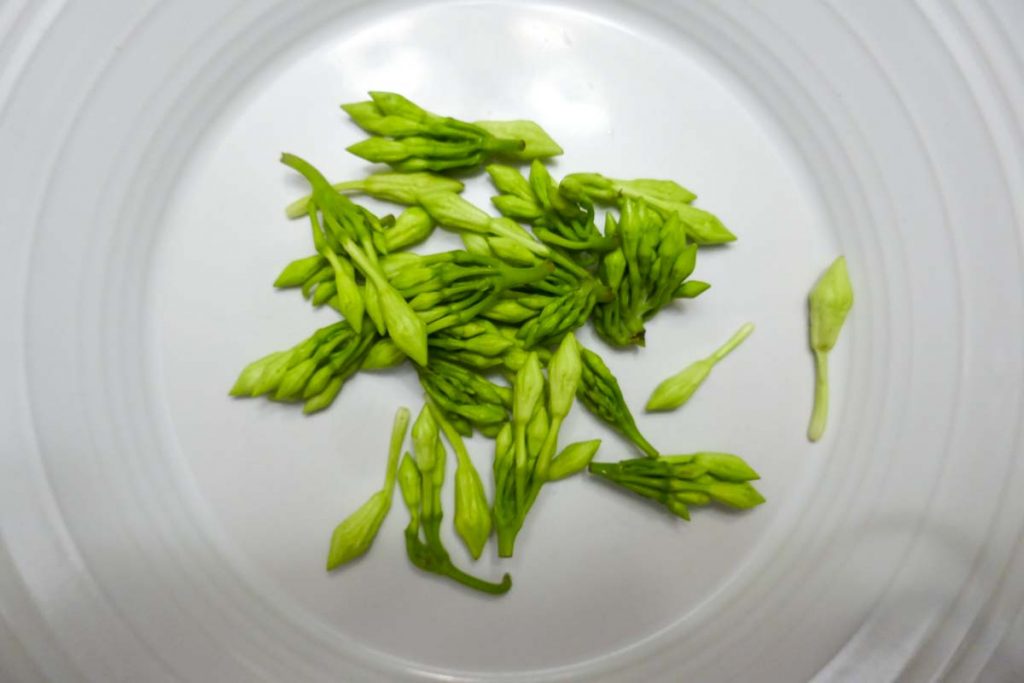
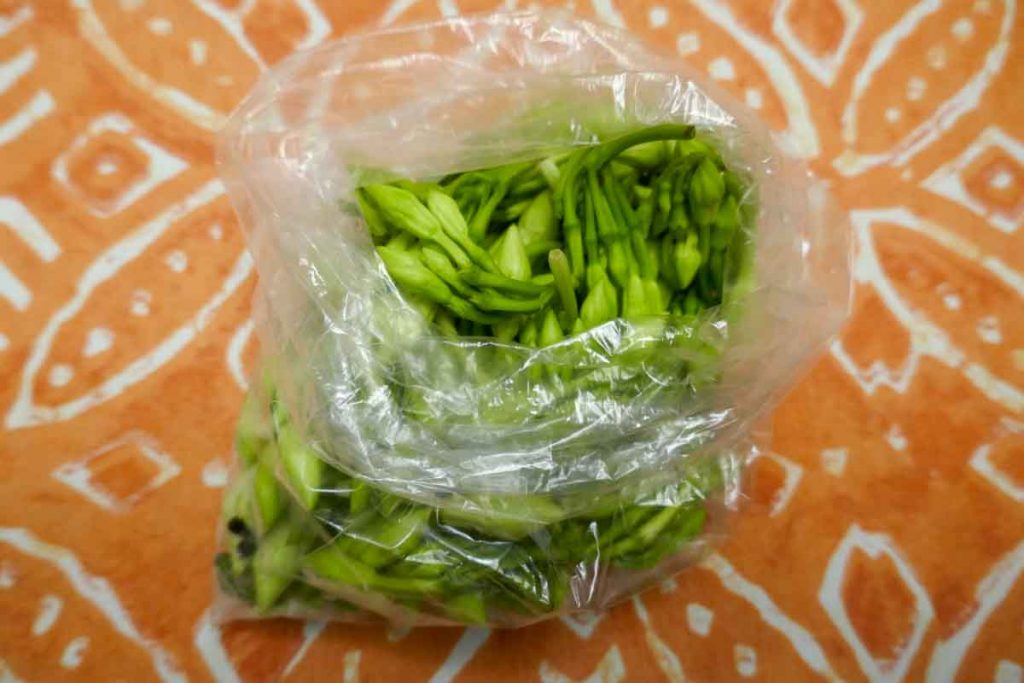
Loroco flowers are small, unopened flowers that grow on woody vines of a herbaceous plant belonging to the Apocynaceae family.
The flowering vine plant is broad and flat with green leaves.
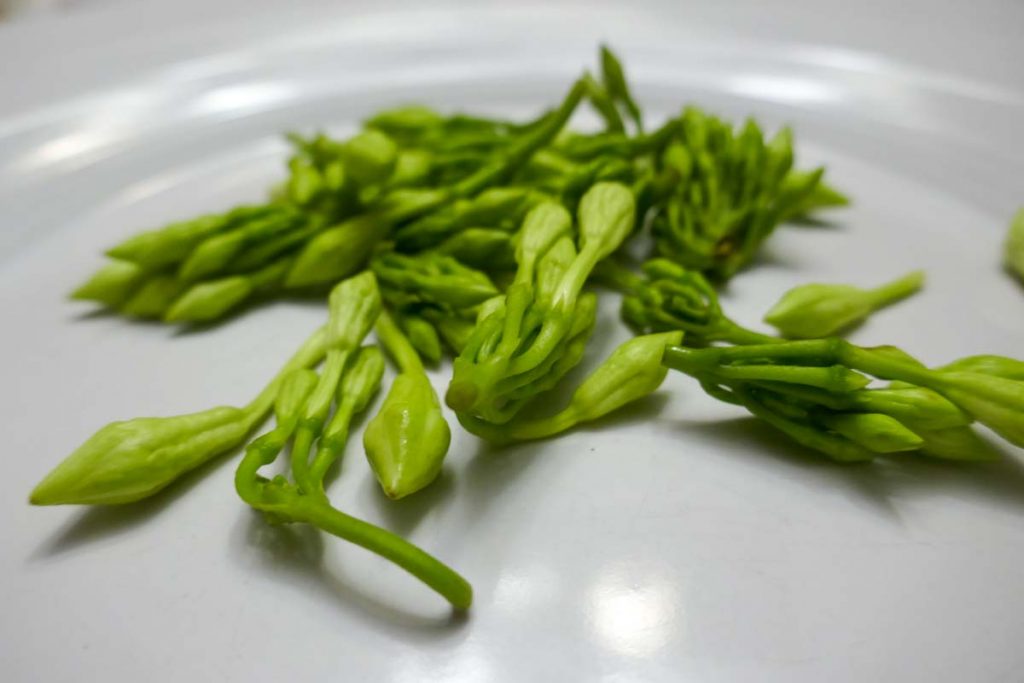
Loroco flowers grow in clusters of 10 to 32 buds, ranging in size depending on growing conditions, and they are harvested when the flowers are still tightly enclosed in their green casing.
The flower buds have a smooth consistency with an elongated, angular, diamond-like shape. Inside the protective casing there are tightly packed, with the small, soft white petals giving the buds a crisp, succulent texture.
What Is The Loroco Flower Used For?
The wild plant’s buds and edible flowers are used to flavor everyday cooking.
The most famous use of loroco is as delicious addition to pupusas, the national dish of El Salvador.
Loroco Pupusas are a medium to thick, stuffed, skillet-cooked corn /maize flour (masa harina) tortillas. They are also sometimes cooked with rice flour.
Our recipe for an authentic loroco pupusa is below.
Aside from Loroco Pupusas, the buds can be chopped and mixed into salads, stirred into rice-based dishes, cooked into omelettes, sprinkled into sauces and stews, stuffed into tamales, or used as a topping for loroco pizza.
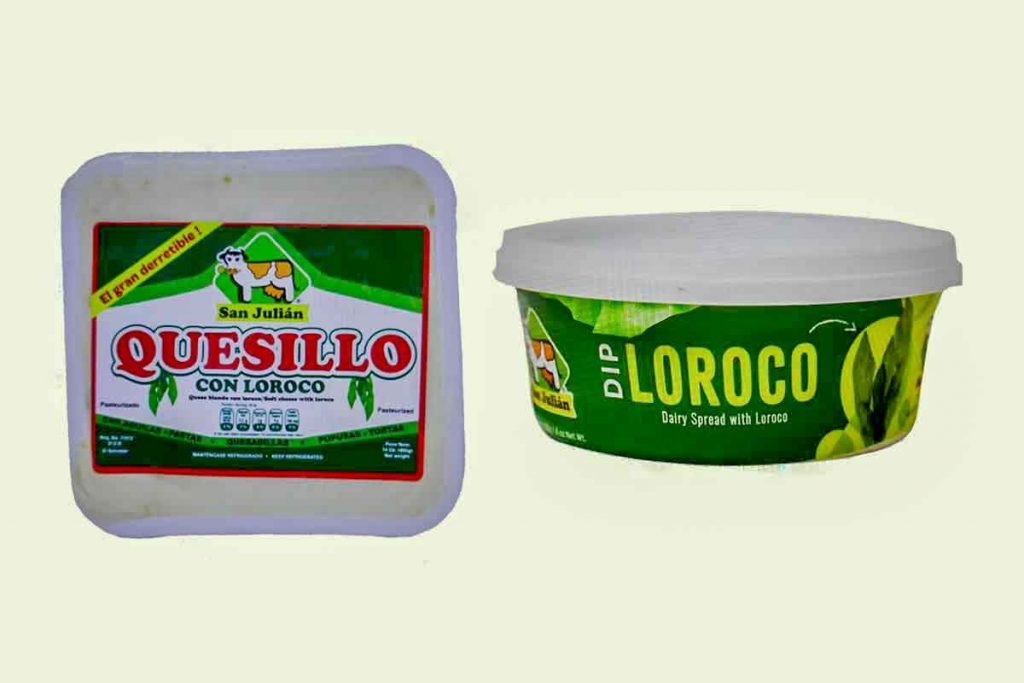
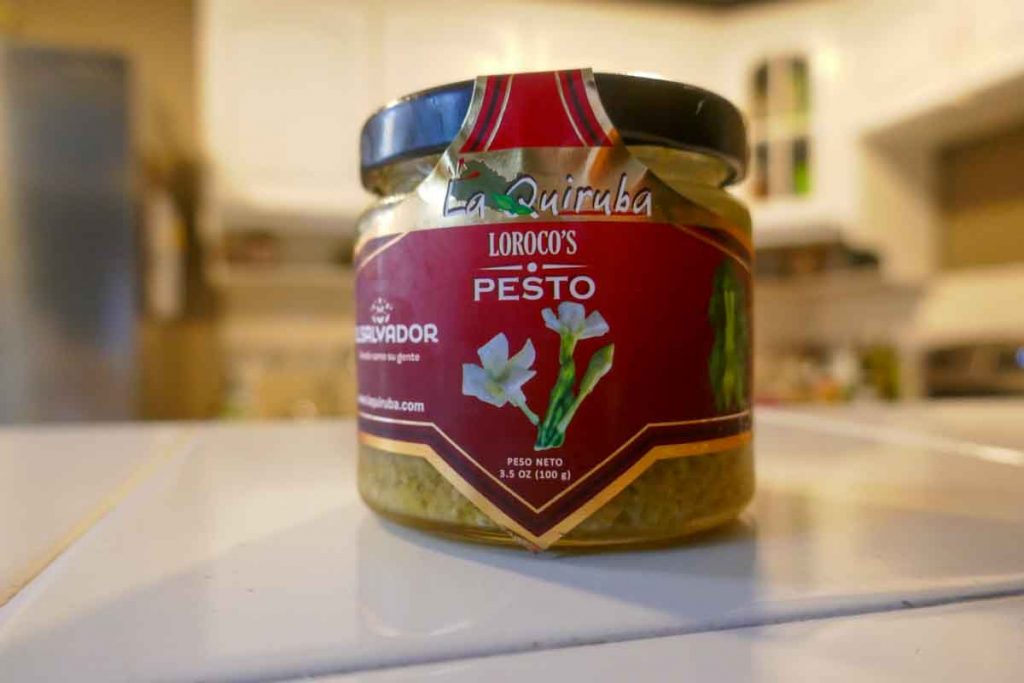
Loroco flower is also added as a flavoring to cheese, dips, pesto, and tea.
It is best suited for lightly cooked dishes, including steaming, stir-frying, and boiling but can also be roasted and dried.
Chefs have found loroco pairs well with zucchini, pasta, poultry, fish, other seafood, and cheeses such as Monterey Jack, mozzarella, and queso fresco.
In Guatemala, Loroco is popularly cooked into a cream-based sauce that is poured over chicken, fish, or vegetables.
Is Loroco Poisonous?
Yes, but only the root of the loroco plant is poisonous. The flower and bud are what you eat.
Can You Eat Loroco Raw?
Yes!
Where Can You Buy Loroco Flower?
Fresh loroco is easy to buy in local markets as well as at larger supermarkets such as Superselectos or Walmart in El Salvador.
If you are buying overseas you will probably be able to find loroco in pickled, dried, or frozen form.
Nutritional Values For Loroco
Loroco flowers are a good source of fibre and an excellent source of vitamins A, B, C, niacin, iron and calcium.
What does Loroco flower taste like?
Loroco has a unique aroma, as well as a distinctive taste and strong flavor, so you don’t need much of it.
Its taste can best be described as having a distinct, vegetal and earthy flavor, which is reminiscent of chard, artichoke, and asparagus mixed with a faint, floral sweetness. The buds also contain nutty, acidic, and woody undertones that adds a tangy, pungent aftertaste.
Loroco flower buds are tastiest when used immediately after harvest when they have a crisp, succulent texture. It has a shelf life of just two days in the refrigerator.
How To Propogate Loroco
Loroco is traditionally grown in home gardens for everyday culinary use. It can be propagated by cutting or by seed and it normally requires 3 to 4 months from planting stage to flowering stage.
It’s harvested when the buds are small and still tightly closed. Traditionally, once harvested, the unopened clusters of buds are cut from the vine and stored in baskets with good ventilation for 1 to 2 days in the refrigerator.
The plant prefers to grow in areas where the temperature range is between 68 and 90 F.
Seasons & Availability
Loroco blossoms primarily in the late spring through to early fall across Central America. In tropical regions with steady irrigation, it’s possible the flowers can bloom year-round.
Freezing Loroco Pupusas and Authentic Recipe
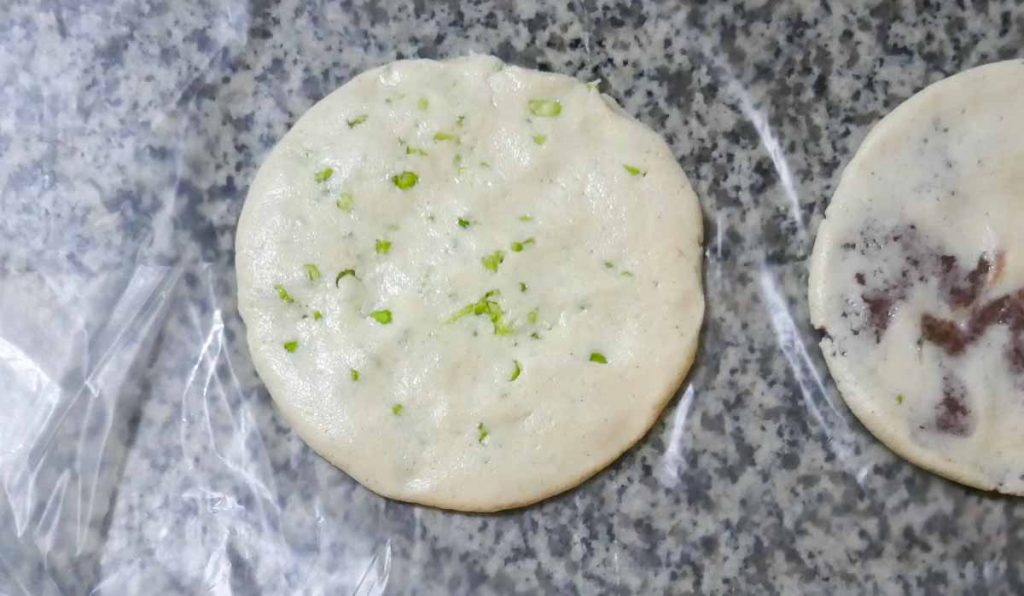
To freeze pupusas, place the assembled (but not cooked) pupusas on a baking sheet lined with parchment. Add the baking sheet with the pupusas to the freezer and allow to chill and get cold for 20-30 minutes. Then transfer the pupusas to an airtight container or freezer-safe plastic bag and store in the freezer for up to 4 months.
You can cook frozen pupusas straight from frozen. There’s no need to thaw them at all!
They simply take 1 to 2 more minutes to cook. See our delicious, authentic recipe below.
Cheese And Loroco Pupusa Recipe
Print RecipeIngredients
- 4 Cups of corn flour (masa harina)
- 1 Cup Water
- 1 tbsp salt to taste
- 1 Cup Fresh Loroco
- 1 Cup Quesillo or shredded Mozzarella cheese
Instructions
1.Prepare the Loroco Pupusa Filling
We mix the loroco and shredded cheese in a large container, until we have a consistent mixture.
We add salt to taste.
2. Prepare The Dough For Pupusas
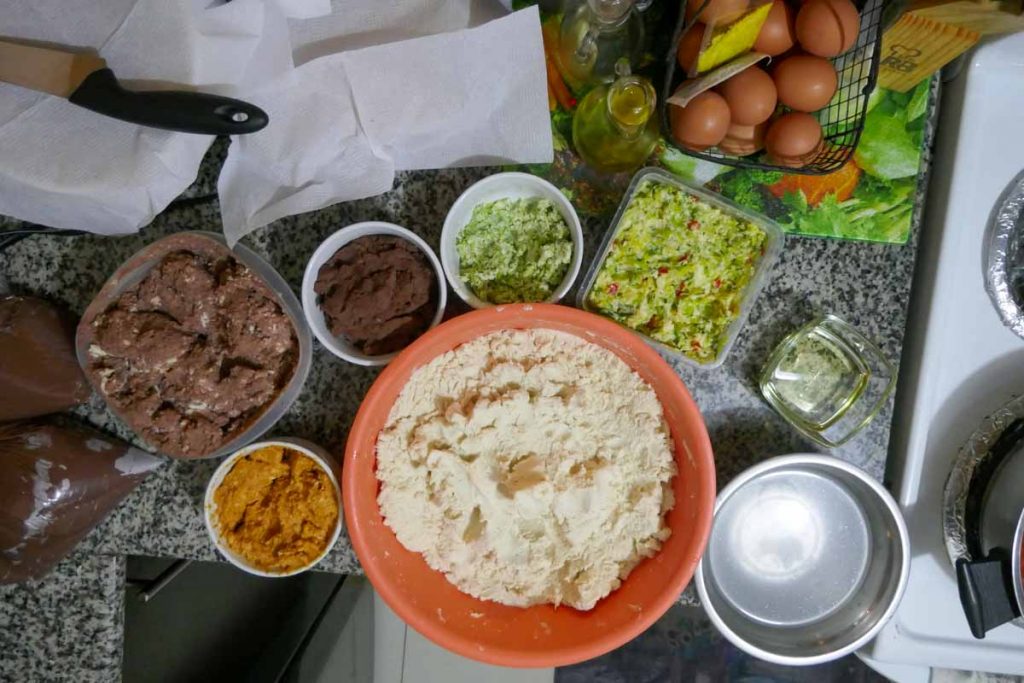
In a container add the flour, little by little we add the water until you have a consistency of semi-hard dough, a little softer than for tortillas.
3.Fill The Pupusa Dough
With a little oil and water on your hands, take a handful of dough and turn between your hands and pat it flat at the same time. Keep doing this until the dough is flat and round like a tortilla.
Then take enough filling to occupy about half the space of the flat pupusa dough and put it in the middle.
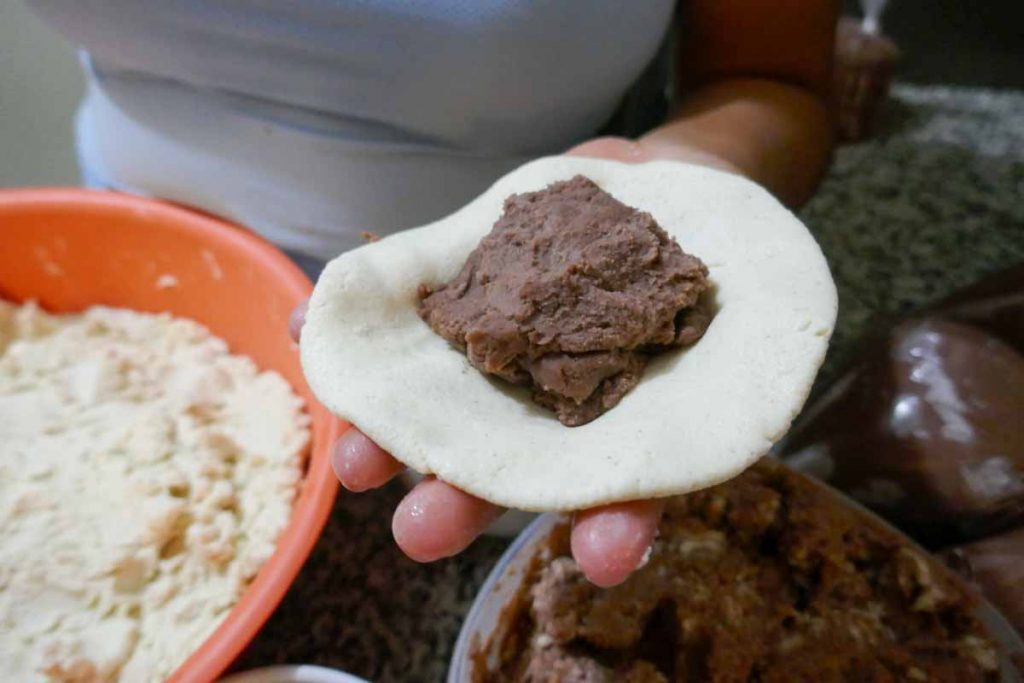
Next close the dough around the filling using your hands to seal in the filling. This creates an excess at the top, which looks like a cloth bag with a draw string. Remove the excess dough at the top and put it back into the bowl.
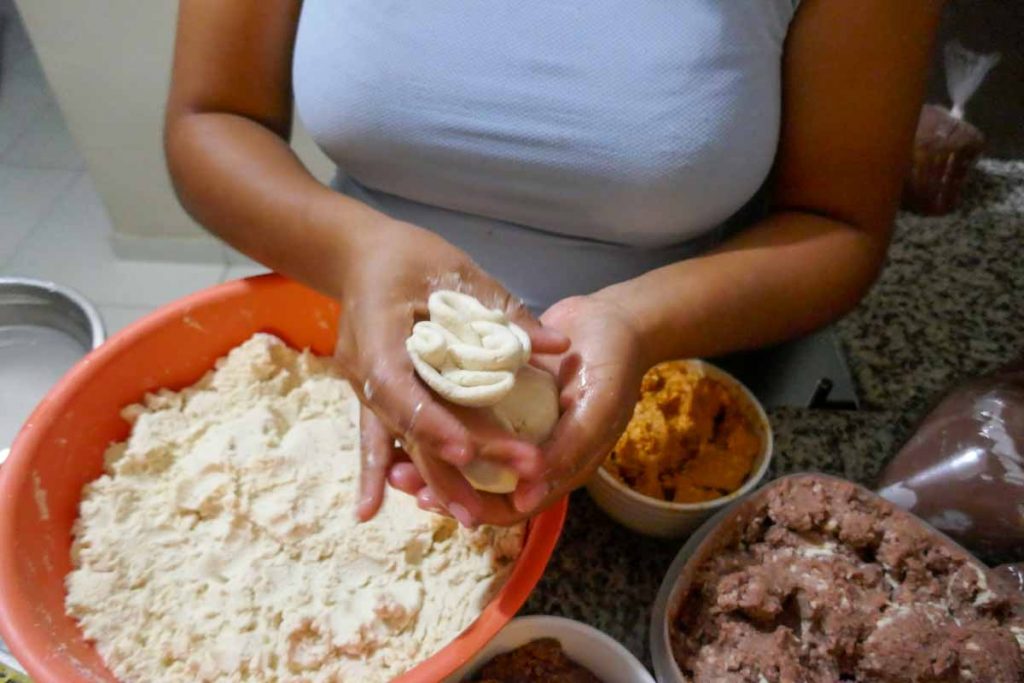
4. Shaping She Pupusa Dough
Put our griddle or cast iron skillet at medium heat. While it is heating, shape the pupusas by patting the balls.
At this point you should have a round ball of dough with filling inside. With a little water and oil on your hands, take the dough and turn it between your hands while patting it flat. This technique needs a bit of practice to perfect. You want the pupusa about 1cm thick and ideally without and filling showing.
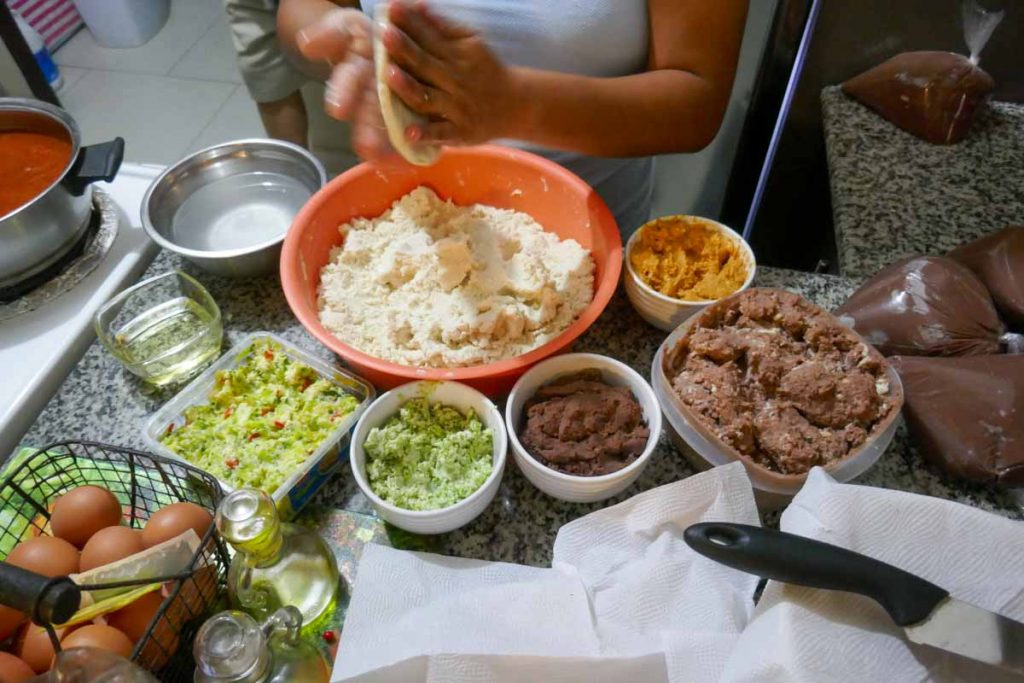
5. Cooking The Pupusa
Lay out your flattened pupusas on film to keep them seperated before cooking.
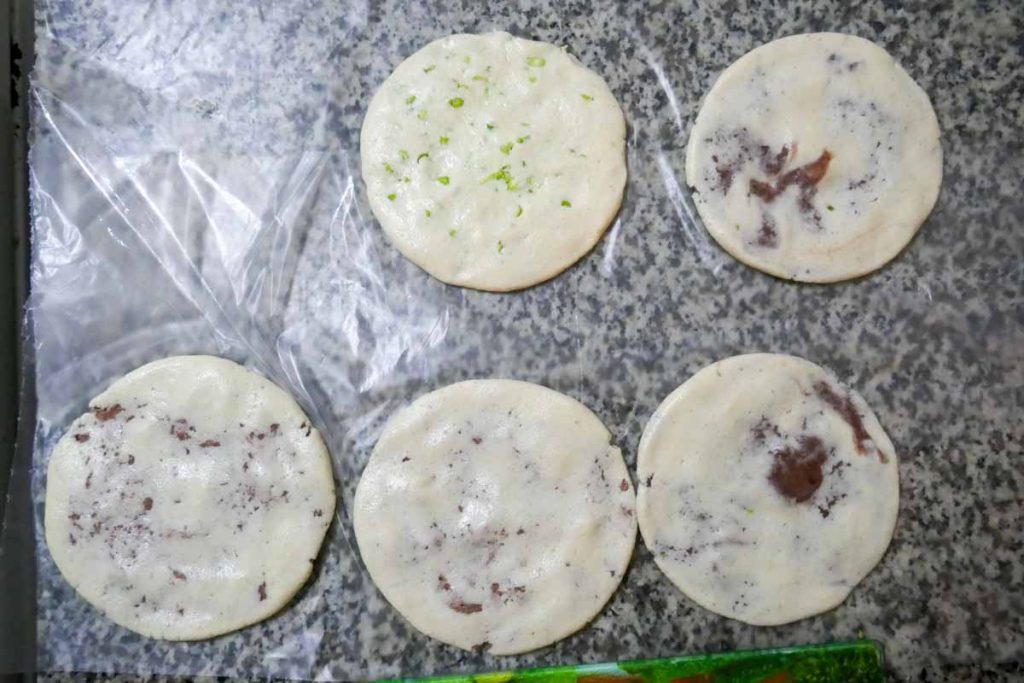
Once you have a flat round dough shape, place it gently on the griddle.
Wait a couple of minutes and turn it over with a spatula. Do not try to force the spatula in. If it is not easy to get under the pupusa it is not yet cooked. If you find the pupusas are sticking the griddle, pass a cloth soaked in oil over the griddle which will help to prevent it from sticking. Don’t overdo it though because the pupusas can get greasy which is bad.
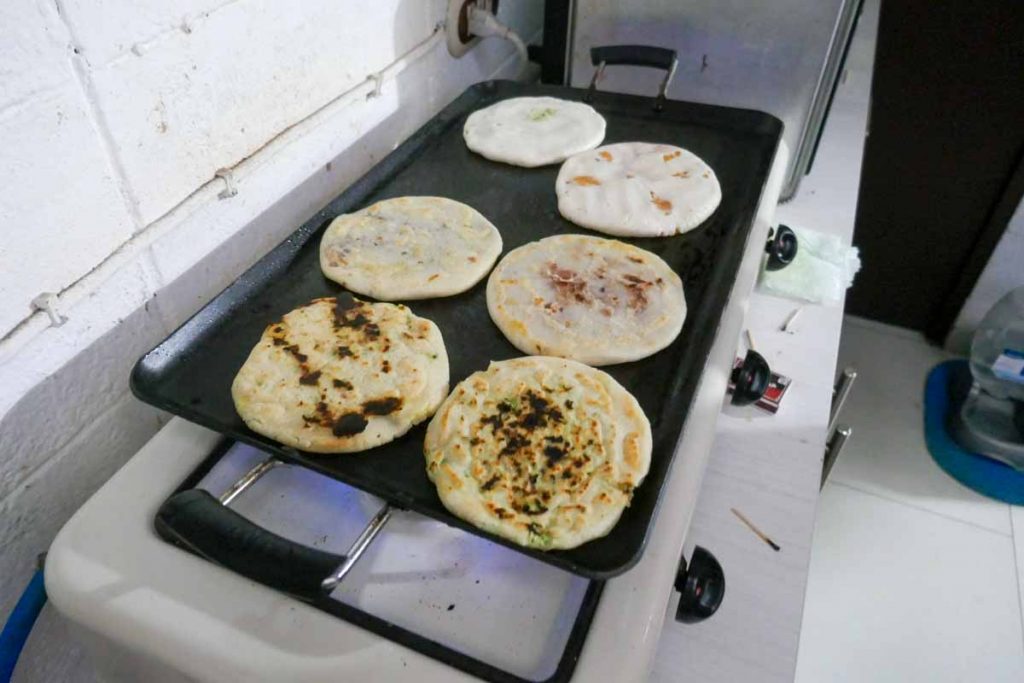
After turning the pupusas, wait another couple of minutes and check it. Remember this time will depend on your griddle or skillet and how high you have the heat.
Turn it twice per side, when the cheese that has come out is well browned and the pupusa has changed color, it is ready.
That’s it!
Remove it from the heat and enjoy this authentic national dish of El Salvador!
Serve with sour cabbage relish Curtido and salsa roja. The salsa roja is either spooned on top of is added to the plate for dipping the pupusa into. A small of the curtido is usually placed on top of the pupusa to taste.
Any leftover cooked pupusas should be stored in an airtight container in the fridge.
To enjoy the pupusas at their best reheat them on a hot griddle for a minute on each side.


